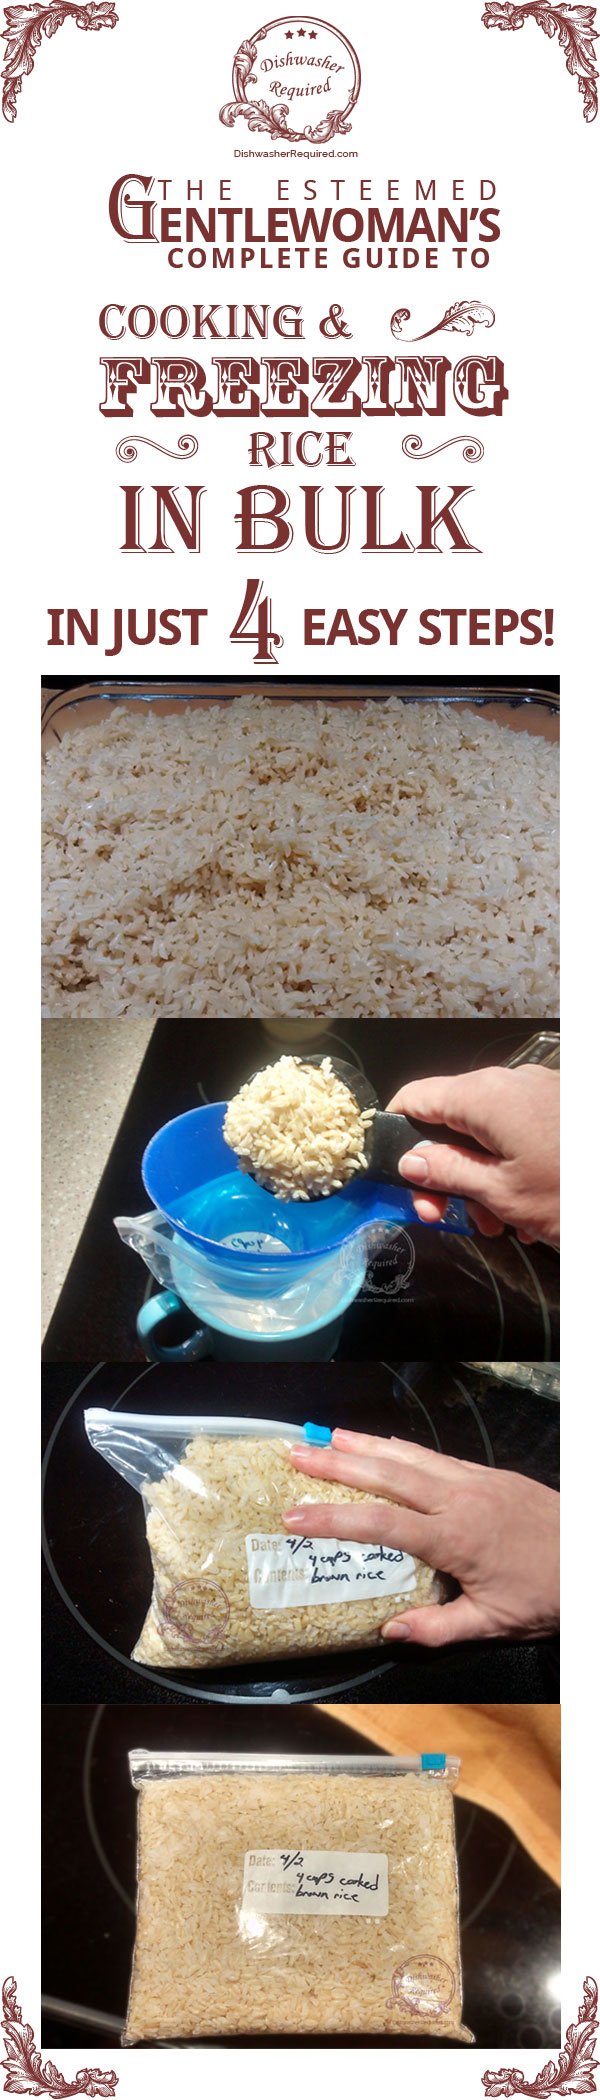
Cooking and freezing rice in bulk
So you’re cooking. Almost everything is ready. You scream “DINNER IN 10!” through the house.
Something is missing though.
You look around.
Gah! The rice! You forgot to cook the rice!
If you eat white rice you’re set back by a good 30 minutes, and if you eat brown rice you’re looking at 45.
No worries – The heathen homemaker to the rescue! Cook your rice in bulk and freeze it in dinner sized portions. It’s super easy, economical, and reheats beautifully.
Step 1: Cook the rice
Cooking rice in bulk is not hard at all. Using this method it takes no more effort to cook 2 pounds than 2 cups.
I’ve cooked rice in bulk many, many times and have learned a few secrets to getting great results every time.
Secret #1: Cook the rice in the oven. It’s perfect every single time and is does not require any hovering. Amazing! It cooks evenly, isn’t mushy, and doesn’t burn.
Secret #2: Grease the baking dish. Post-cooking cleanup will consist of wiping the dish out with a paper towel. Well, ok, you can use soap and water if you’re picky about cleanliness, but there will be no scrubbing involved.
Secret #3 Fluff the rice with a fork when it comes out of the oven. The steam under the top layer is still cooking the rice and fluffing it lets the steam out, preventing it from getting mushy.
The recipe I’ve posted here assumes you are using brown rice. The amount of liquid and the cooking time will be a bit different with white rice. At some point I’ll try it with white rice and let you know how to adjust the recipe. But make the brown rice. Every time you feed it to your family you’ll feel a smug sense of superiority.
- 2 pounds brown rice
- 7½ cups hot water or broth
- 0-3 tablespoons of fat, to taste (butter, olive oil, coconut oil, whatever strikes your fancy)
- 0-1 teaspoon of salt, to taste
- Preheat the oven to 375 degrees
- Grease a 9x13 inch baking dish
- Pour 2 pounds of brown rice into the dish
- Mix optional salt and fat into 7 cups of hot (tap water hot is fine) water or broth
- Pour over the rice and swish things around very gently to make sure the rice and liquid are evenly distributed (water, broth, or some combination)
- Cover the dish as tightly as you can with foil
- Cook for 1 hour
- Immediately fluff the rice with a fork to prevent steam from further cooking the rice
- Serve hot, or cool and freeze in meal-sized portions
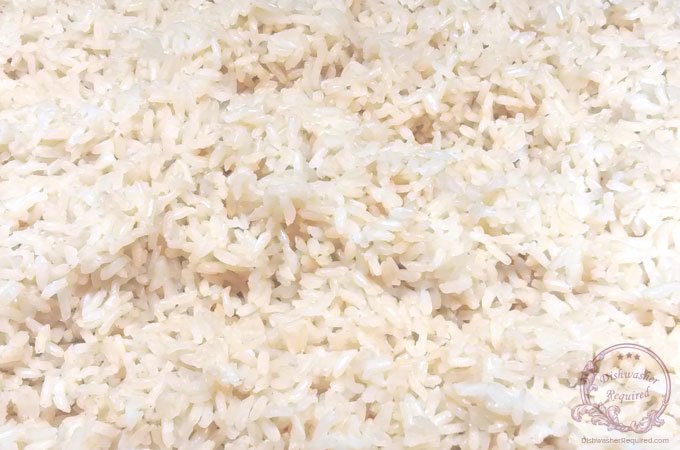
When I lived in Jamaica, there was rice and then there was shelly rice. I have no idea where that term came from, but it describes rice that is not sticky or mushy nor underdone. It is perfect rice with defined grains.
This, my friends, is shelly rice.
Step 2: Get thy rice into thy bags
That sounds vaguely rude. But you’ve cooked the rice and it’s cooled off enough to pack it in thy bags. The only things you really need are freezer bags, a marker, and a spoon but there are a couple of other tools to have on hand that can really speed things along.
Helpful tools
After quite a bit of cursing and spilled rice, I discovered a few things that make packaging the rice easier.
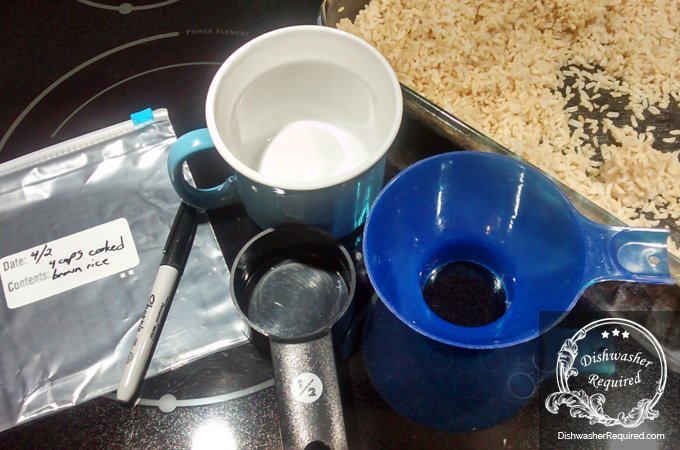
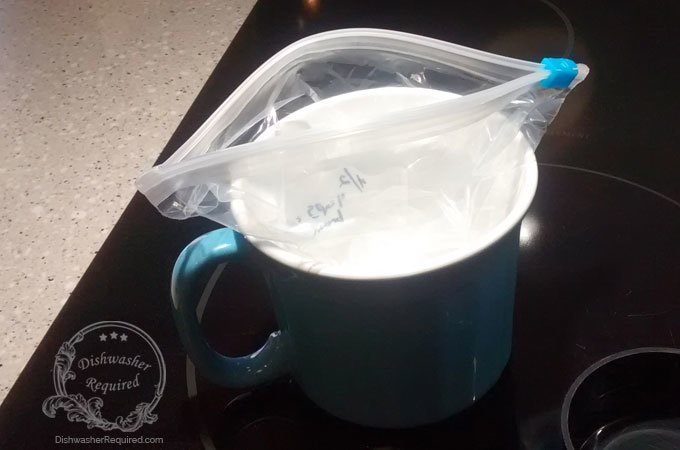
- A deep bowl, large soup mug or something deep enough to comfortably hold a quart sized freezer bag.
- A 1/2 or 1 cup measuring cup
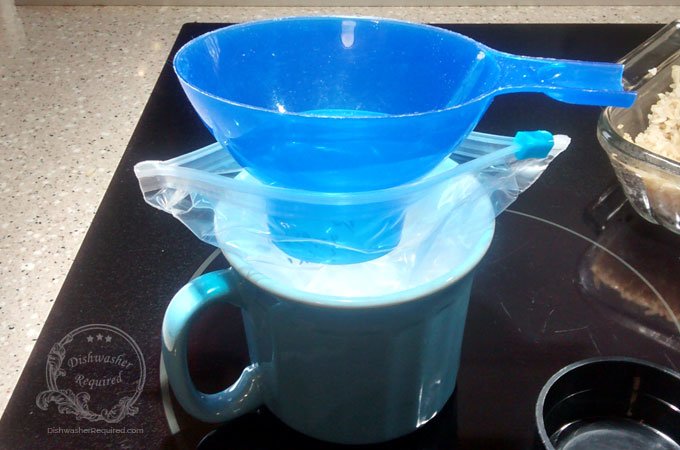
- A canning funnel*
Canning funnels are cheap and easy to come by. They are great for transferring stuff from a pot or dish into bags, smaller containers and jars.
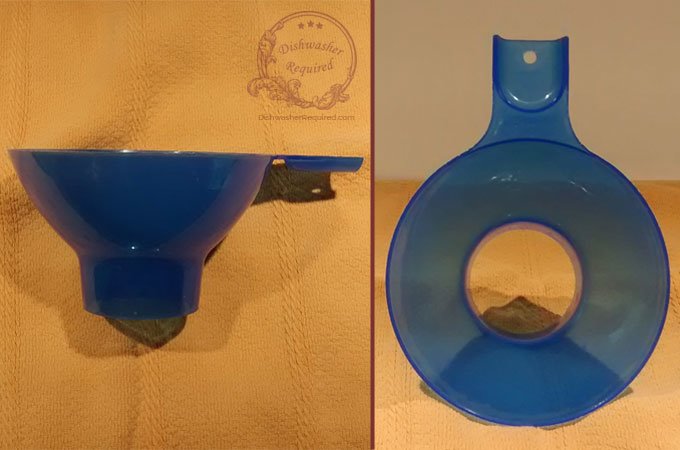
A canning funnel makes freezing rice easier
Get your assembly line ready
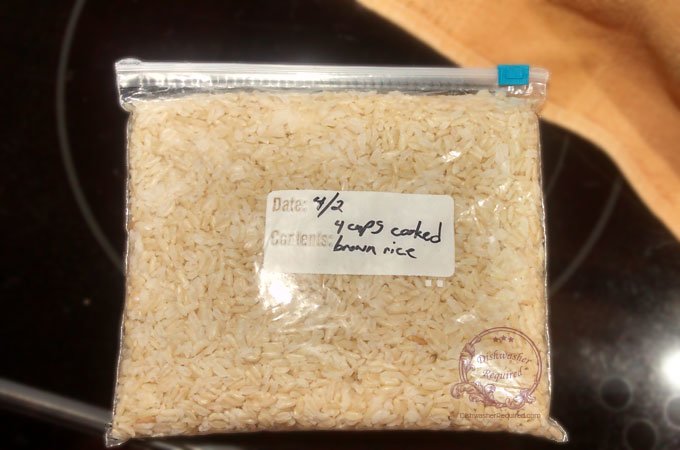
2 pounds of rice makes about 12 cups cooked. I generally put 3-4 cups of rice in each quart size bag. Knowing this, I pre-label 3 or 4 bags with the date, the contents, and the amount of rice.
Open a bag and put it in the bowl or mug.
Put the canning funnel into the bag’s opening.
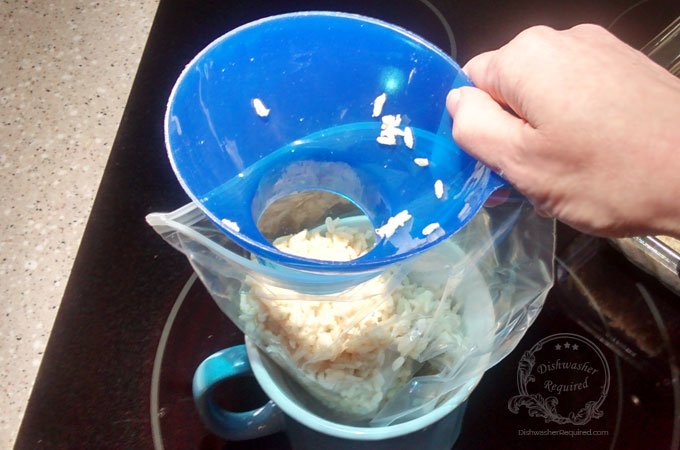
Put the rice into the funnel about a half cup at a time. Sometimes it helps to joggle (joggle?) the bag and funnel a bit to get everything into the bag.

Shake the bag a bit as you pull out the funnel. No spilled rice!
Step 3: Do the Press ‘n’ Squeeze
Close the bag about 2/3 of the way and press down to get as much air out as possible.
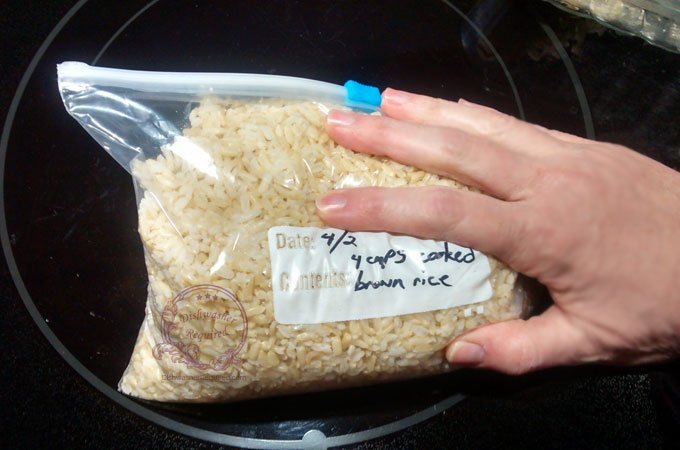
Close the bag the rest of the way and start pressing it flat.
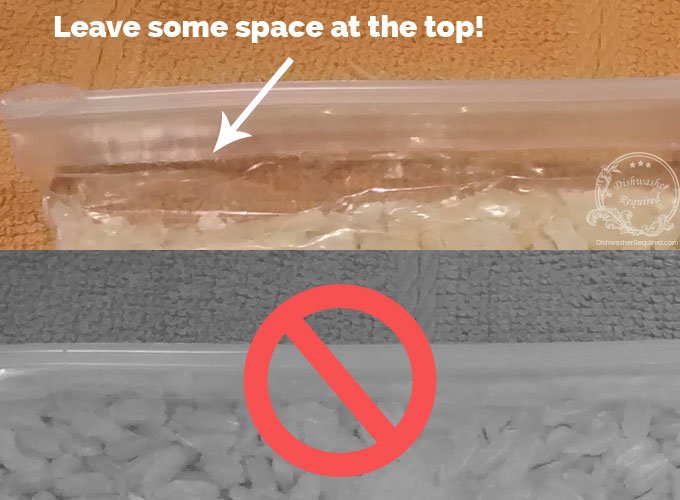
Here is another thing I learned from hard experience: Leave headspace at the top. The rice will expand a bit in the freezer. If you don’t leave space you’ll find that when you take the rice out of the freezer it will be nearly impossible to unzip the bag until it thaws out quite a bit.
Step 4: Freeze ’em flat
If you freeze the rice nice and flat you’ll be able to stand them on end in the freezer. I have a dollar store plastic shoebox container in the freezer just for flat frozen things like rice and couscous (yep, you can freeze that too!).
When you’re ready to use the rice you can just empty the bag into a bowl and pop it in the microwave. If you’ve been a good little homemaker you remembered to leave headspace, and the bag will zip right open!
There are no more steps!
Whew! Does this sound like a lot to do? It’s not. Here’s the breakdown in short form:
- Cook 2 pounds of rice in the oven. Let it cool.
- Spoon 3 to 4 cups of rice into each freezer zip bag.
- Press each bag to let out as much air as possible, then press flat, leaving some space at the top.
- Freeze flat. Once completely frozen, stack or stand on end.
That’s it! Who’s up for it? Try it and let me know how much time it took you.
There are 5 comments Join the conversation